Access Control & Movement Restriction
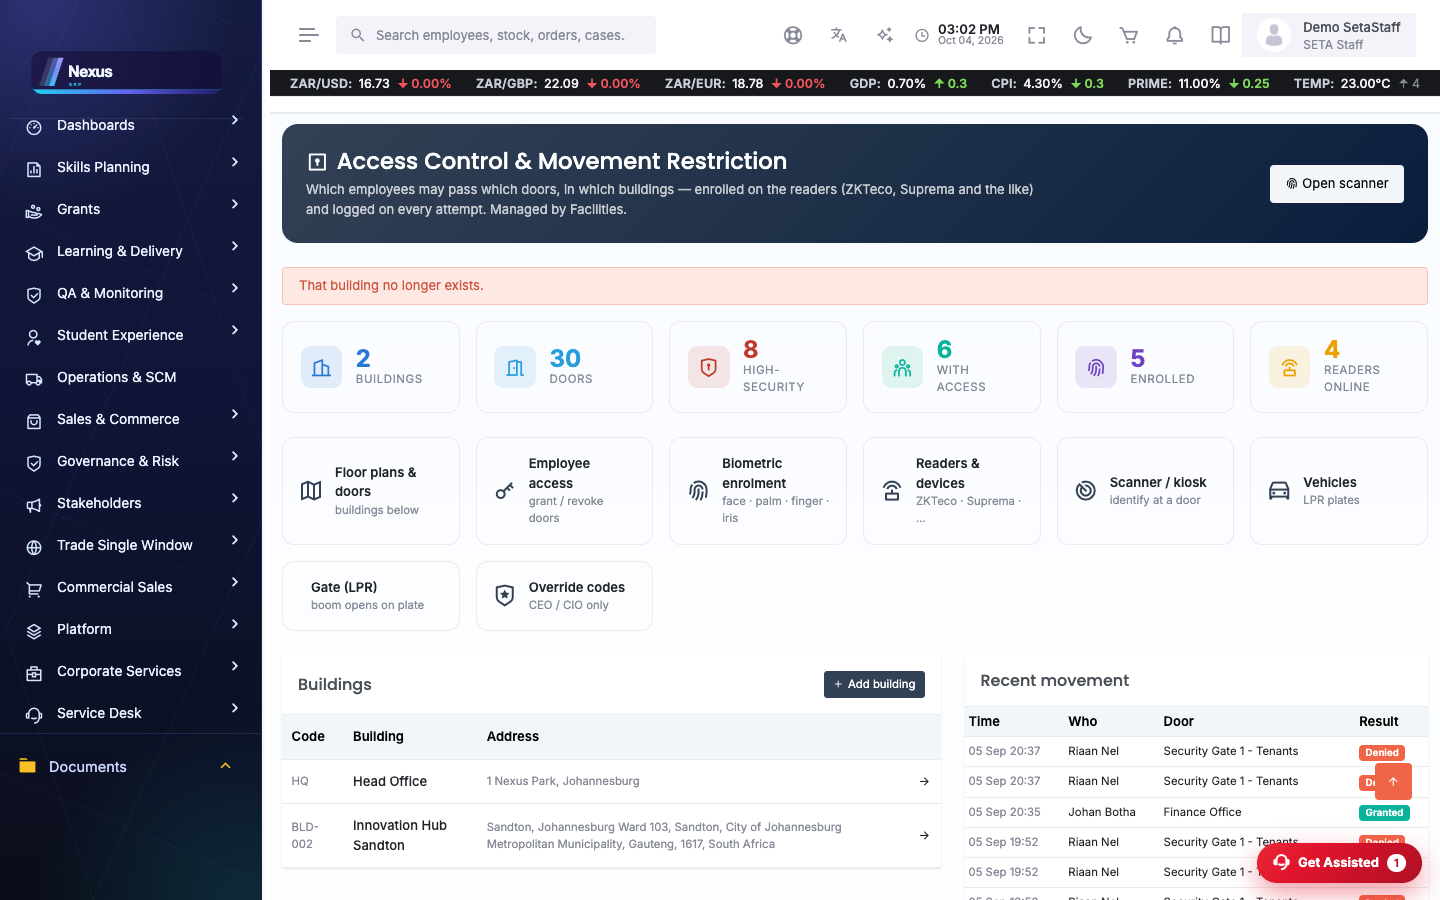
Who may pass which door — people by staff card and biometrics, vehicles by number plate, with override codes held by the CEO and CIO. Facilities run it all from an interactive floor plan.
🔒Buildings, floors and the plan you draw
Access control home /Facilities/AccessControl
The facilities team runs access from here: a tree of buildings and their floors, the doors on each, who may pass them, and the devices at the gates.
The floor-plan editor /Facilities/AccessControl/Building
Open a floor to its interactive plan. Draw the floor outline, add rooms, drop doors, and label everything — then move and rename anything to match the real building.
- Choose a floor from the building tree to open its plan.
- Use Add door to drop a door at the centre, then drag it into place; its code is generated automatically and shown in the label.
- Draw rooms and label them; add parking lanes on a basement floor.
- Pick a standard background for the floor, or Copy floor to clone a layout and adjust it.
- Recolour a door to show whether it is an entry or an exit.
👤Who may pass a door
Door access grants /Facilities/AccessControl/Grants
Access is per door, per person. Grant an employee the doors they may pass; the same grants appear on the employee’s own profile under the Access tab.
- Open Grants and pick the employee.
- Tick the doors they may pass and save.
- Check it from the person’s side under People › Employee › Access.
At a door, a grant is what turns a recognised person — by card, biometric or plate — into an admitted one.
🥎Biometrics — enrol and scan
Enrolment /Facilities/AccessControl/Enrollment
Nexus enrols and reads fingerprints, faces, palms and retinas through the readers already at the door — ZKTeco, Suprema, Hikvision and IDEMIA.
- Open Enrolment, choose the employee and the reader.
- Choose the modality (fingerprint, face, palm or retina) and capture the template.
- The template is stored against the person; the Scan screen reads a live one and checks the door.
Scanning /Facilities/AccessControl/Scan
🚗Number-plate recognition and vehicles
Vehicles /Facilities/AccessControl/Vehicles
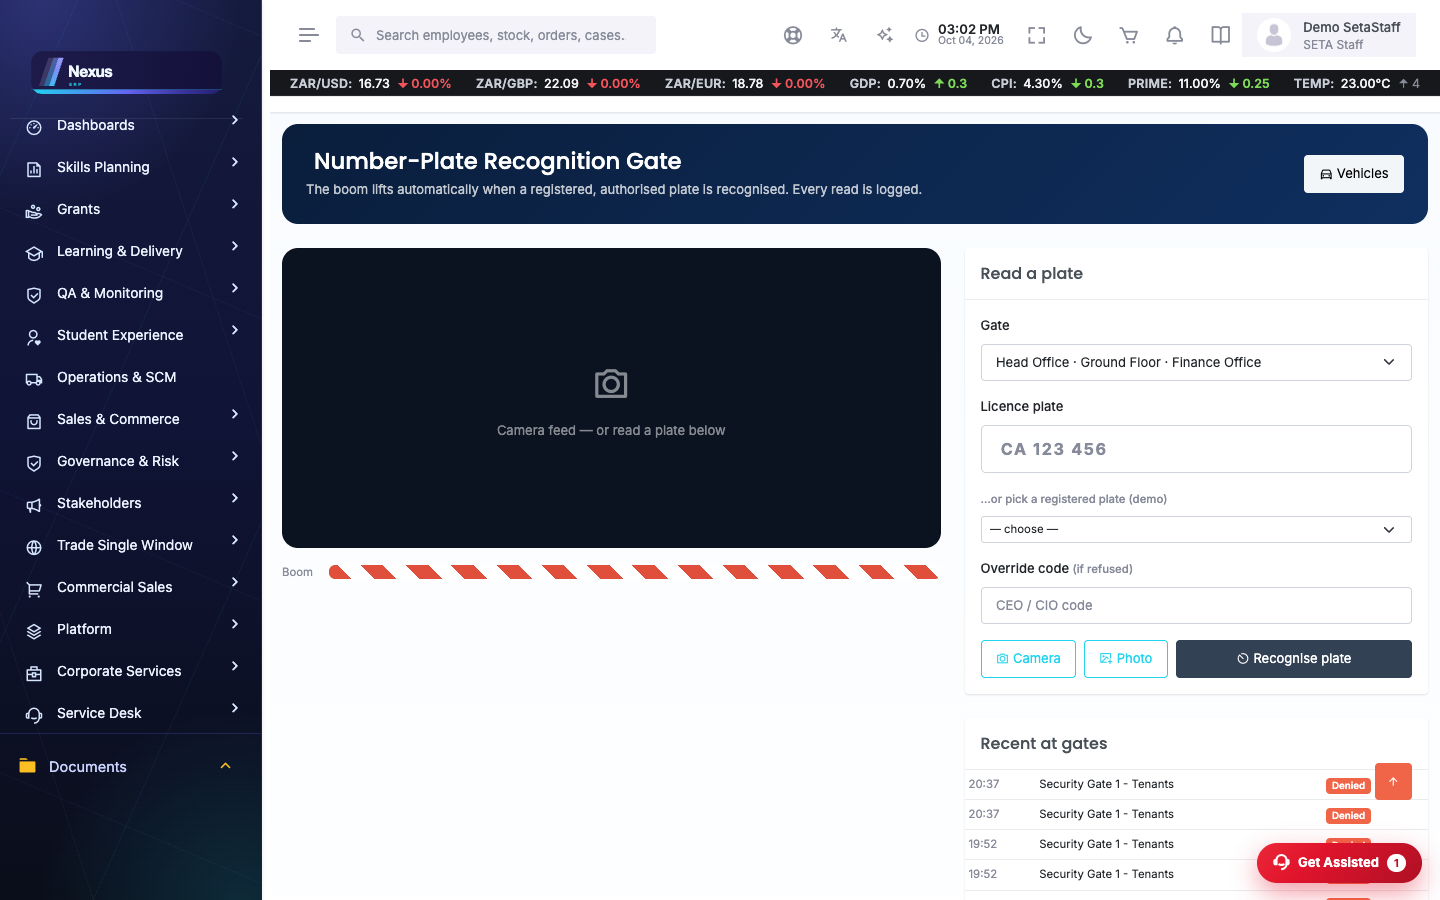
Register a vehicle’s plate against its owner. The boom then lifts on its own when the camera recognises a registered plate whose owner is authorised at that gate.
- Register the plate and owner; set the vehicle Active.
- Give the owner a grant to the gate (Grants, above).
- At the gate (/Facilities/AccessControl/Lpr) the camera reads the plate — or read it from a photo — and the boom lifts if the owner is allowed.
🔑Override codes
Overrides /Facilities/AccessControl/Overrides
An override code lifts any boom or opens any door regardless of grants — for the moment a gate must open and the usual credential is not to hand.
📱On the phone
The mobile app carries access control into the field for the facilities team, under Access control:
- Access Scanner — pick the door and scan the employee’s staff card (QR) to admit or refuse them.
- Biometric Enrol — enrol a fingerprint, face, palm or retina against a reader.
- LPR Gate — read a plate at a gate and lift the boom.