Warehouse & Planning
Run the storeroom properly and plan ahead: bins, put-aways and pick lists on the floor; MRP runs and demand forecasts for the planner; landed costs on imports; and job costing to see what each job really cost.
🗺Goods in, goods out
The warehouse flow at a glance. Navy = warehouse staff, orange = the system.
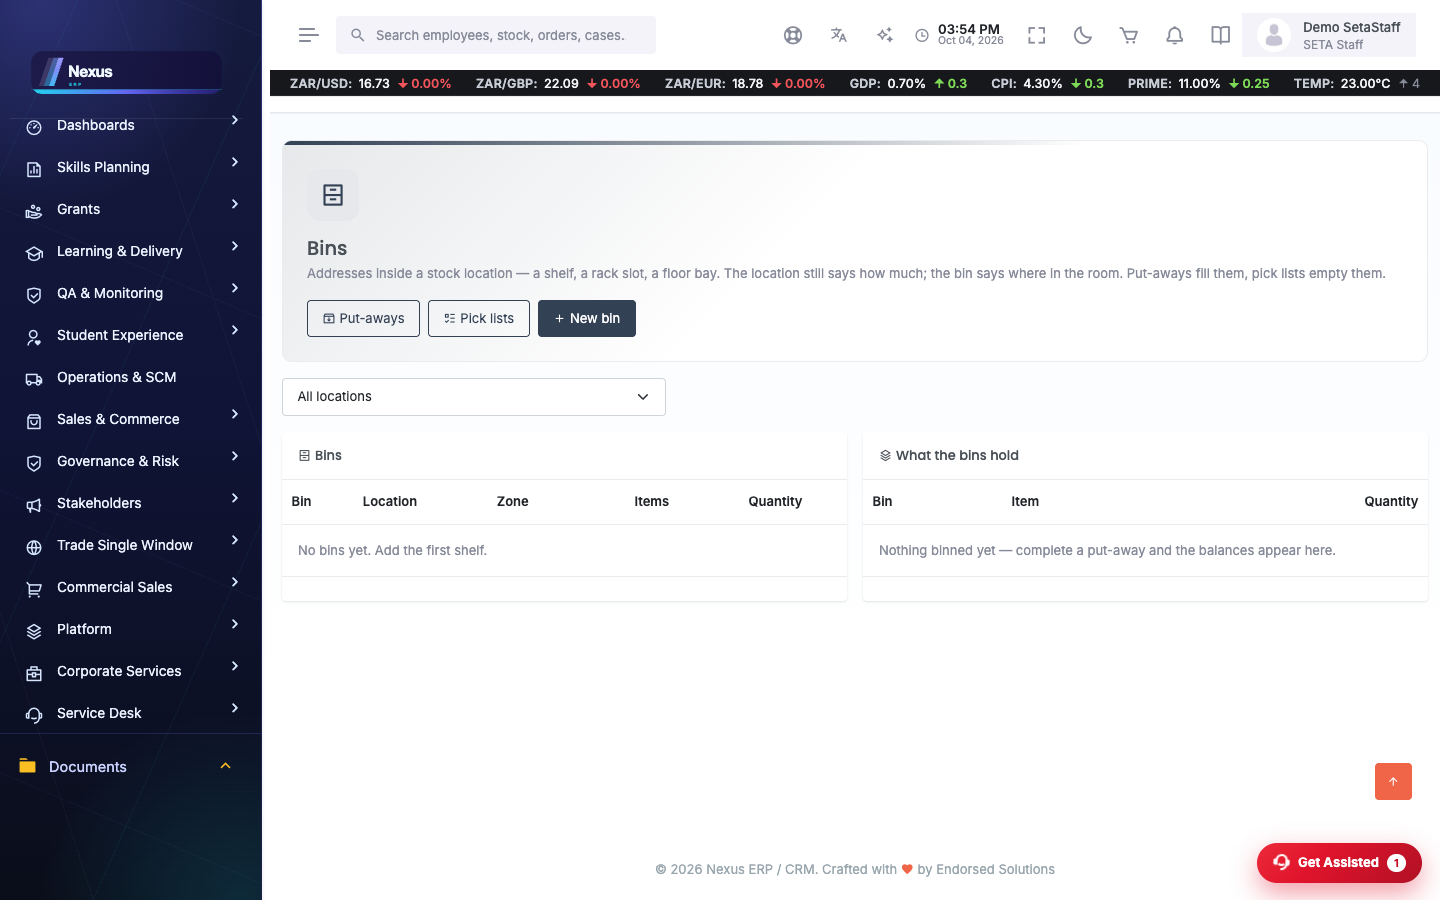
📦Bins
Bin register /Trading/Stock/Bins
A bin is a named spot in the storeroom — a shelf, a rack level, a floor area. Bins give every item an address.
- Open Trading → Stock → Bins and pick the location (branch / store) you are setting up.
- Add a bin with a short code (A-01, RACK-3-TOP) and a description people will recognise.
- Repeat for each spot. Keep codes short — they get read out and typed all day.
🚚Put-aways
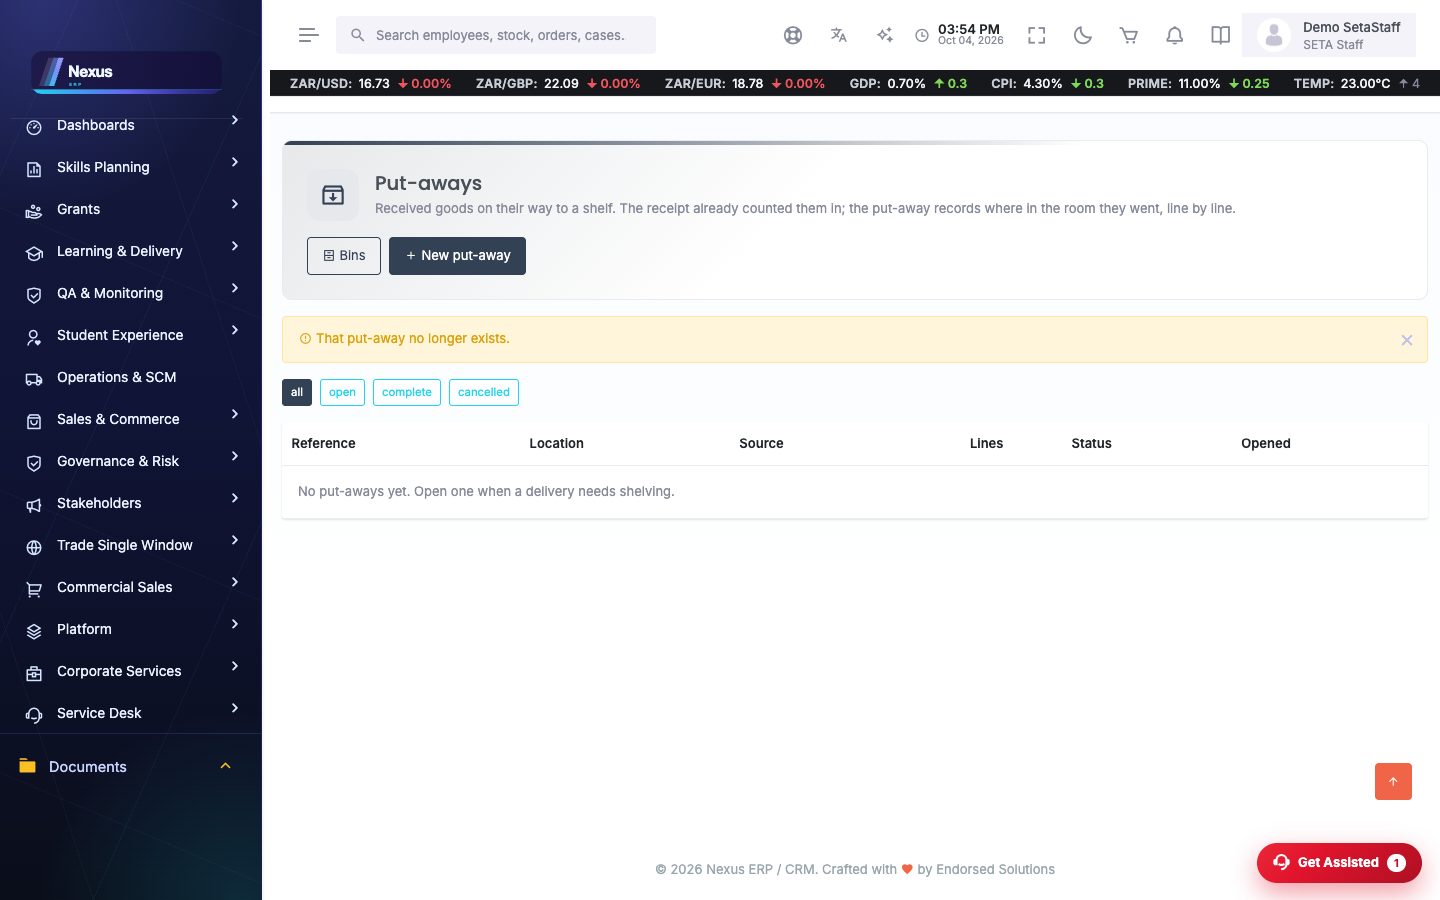
Put-away register /Trading/Stock/Putaways
When a delivery lands, a put-away records which bin each item went into.
- Open Put-aways and click Start put-away: pick the location and note the source (the delivery or order reference).
- On the put-away, add a line per item: the item, the bin it is going to, and the quantity.
- As each line is physically shelved, mark it complete.
- Captured in error? Cancel the put-away before its lines are completed.
📋Pick lists
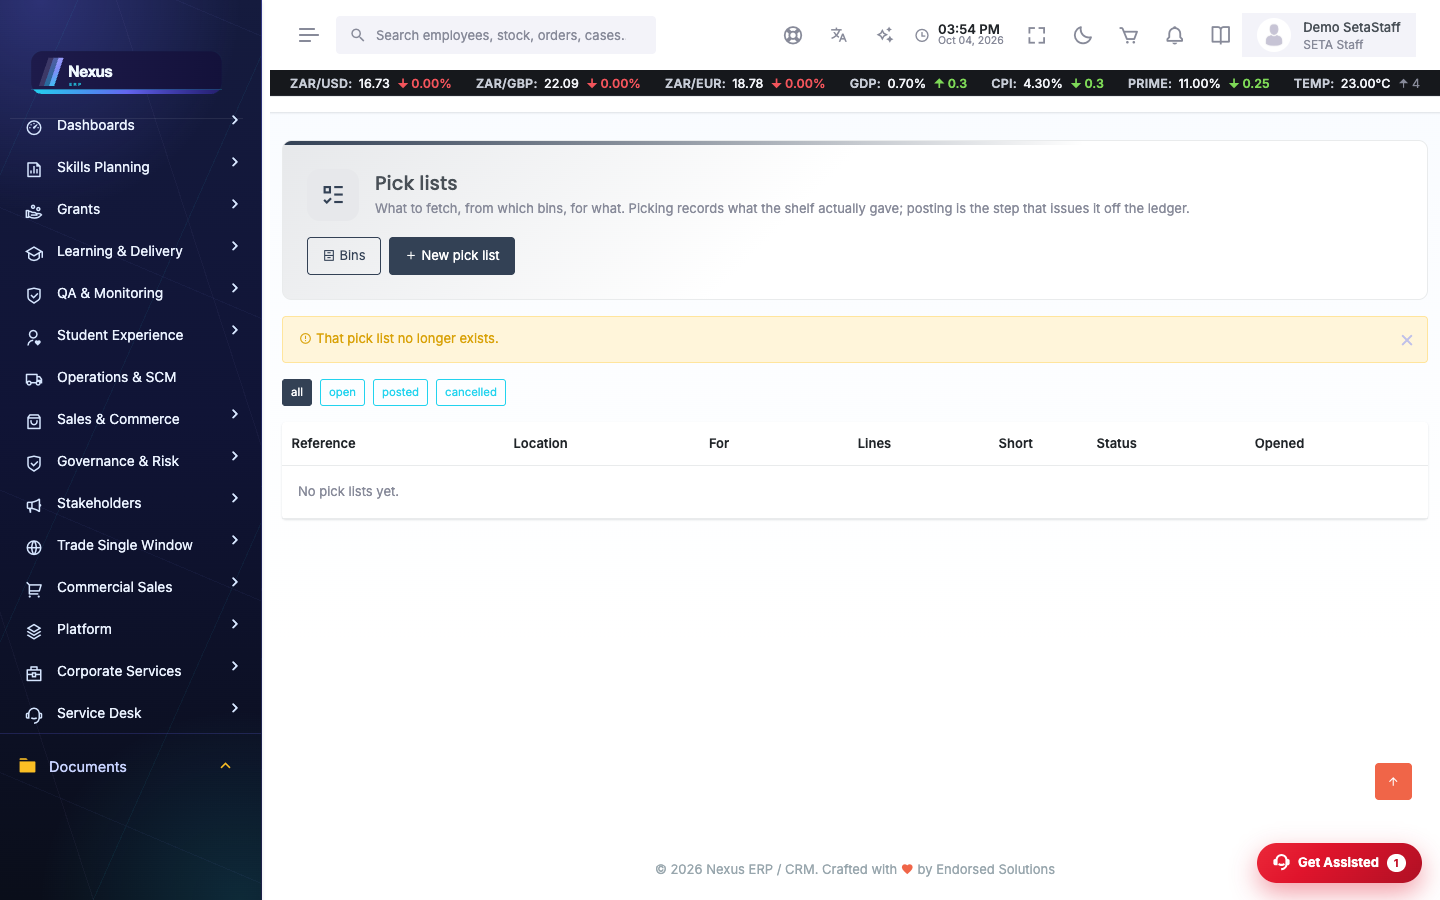
Pick list register /Trading/Stock/PickLists
A pick list is the picker's shopping list: what to fetch, how much, and which bin to find it in.
- Open Pick lists and click Create pick list: choose the location and say what it is for (an order, a transfer, a job).
- Add a line per item with the quantity needed; the bin can be suggested or chosen.
- The picker works the list and records each pick — the quantity actually picked, with a note if it differs (short stock, damaged).
- When the trolley is full, click Post. Posting is what actually reduces the stock on hand.
- A list that is no longer needed can be cancelled before posting.
⚙️MRP run
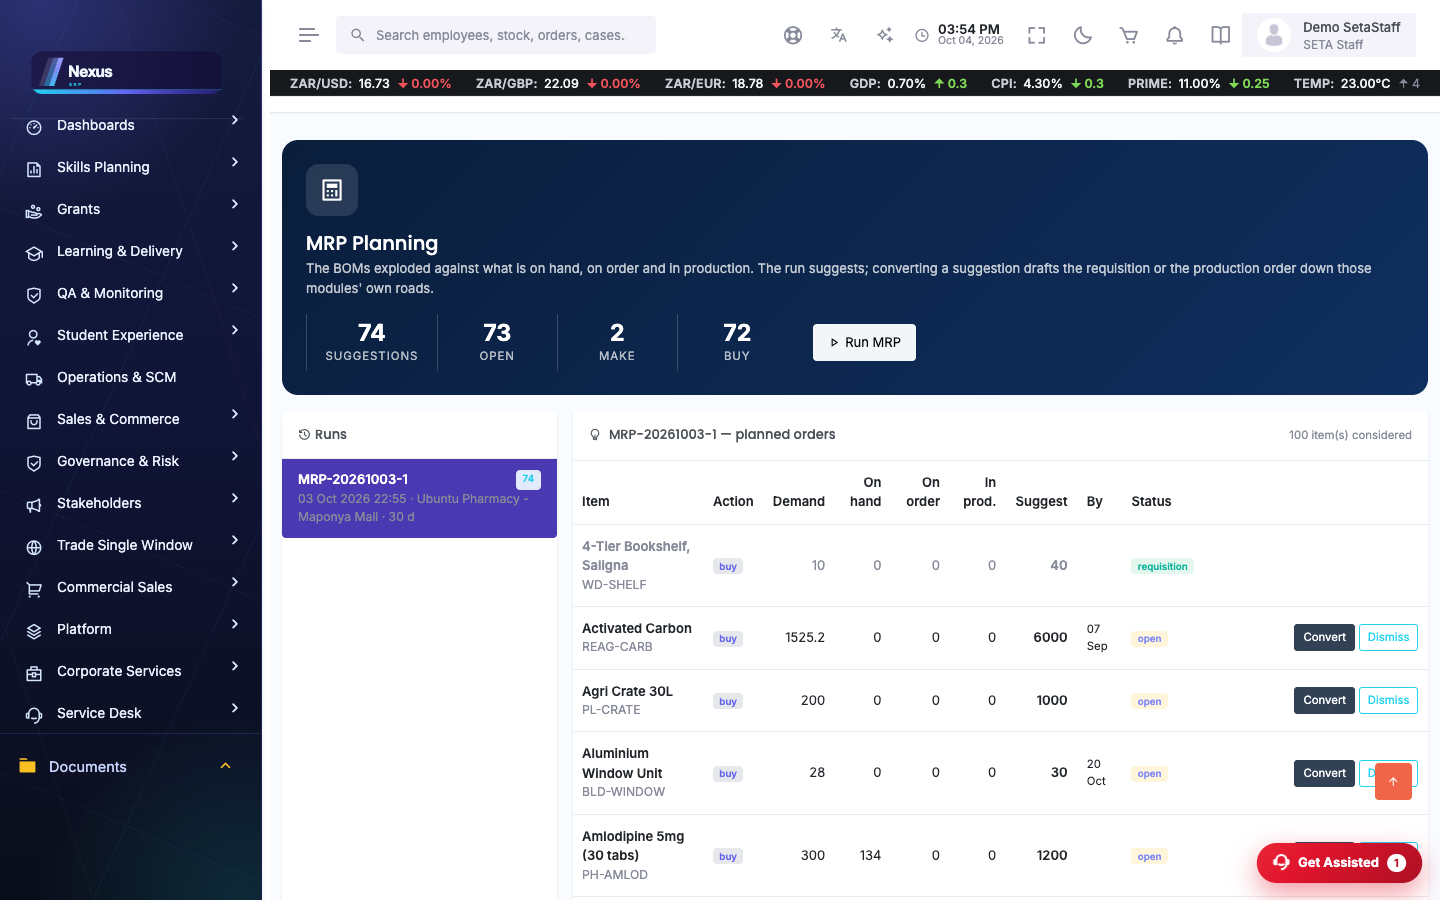
Planning overview /Production/Planning/PlanningOverview
MRP (material requirements planning) looks at your stock, your reorder levels and what is coming up, and suggests what to buy or make.
- Open Production → Planning.
- Click Run MRP: pick the location (or all) and the horizon in days (how far ahead to look — 30 by default).
- The run produces a list of suggestions: item, quantity, and why.
- For each suggestion, either Convert it (the system creates the purchase/works entry for you) or Dismiss it with a clear conscience.
- Old runs stay on the page — pick a run from the list to review what it said.
📈Demand forecast
Forecast /Production/Planning/Forecast
- Open Planning → Forecast.
- Click Run forecast and choose how many months of history to learn from (6 by default).
- The forecast projects demand per item from its sales history — use it to sense-check MRP suggestions and seasonal buying.
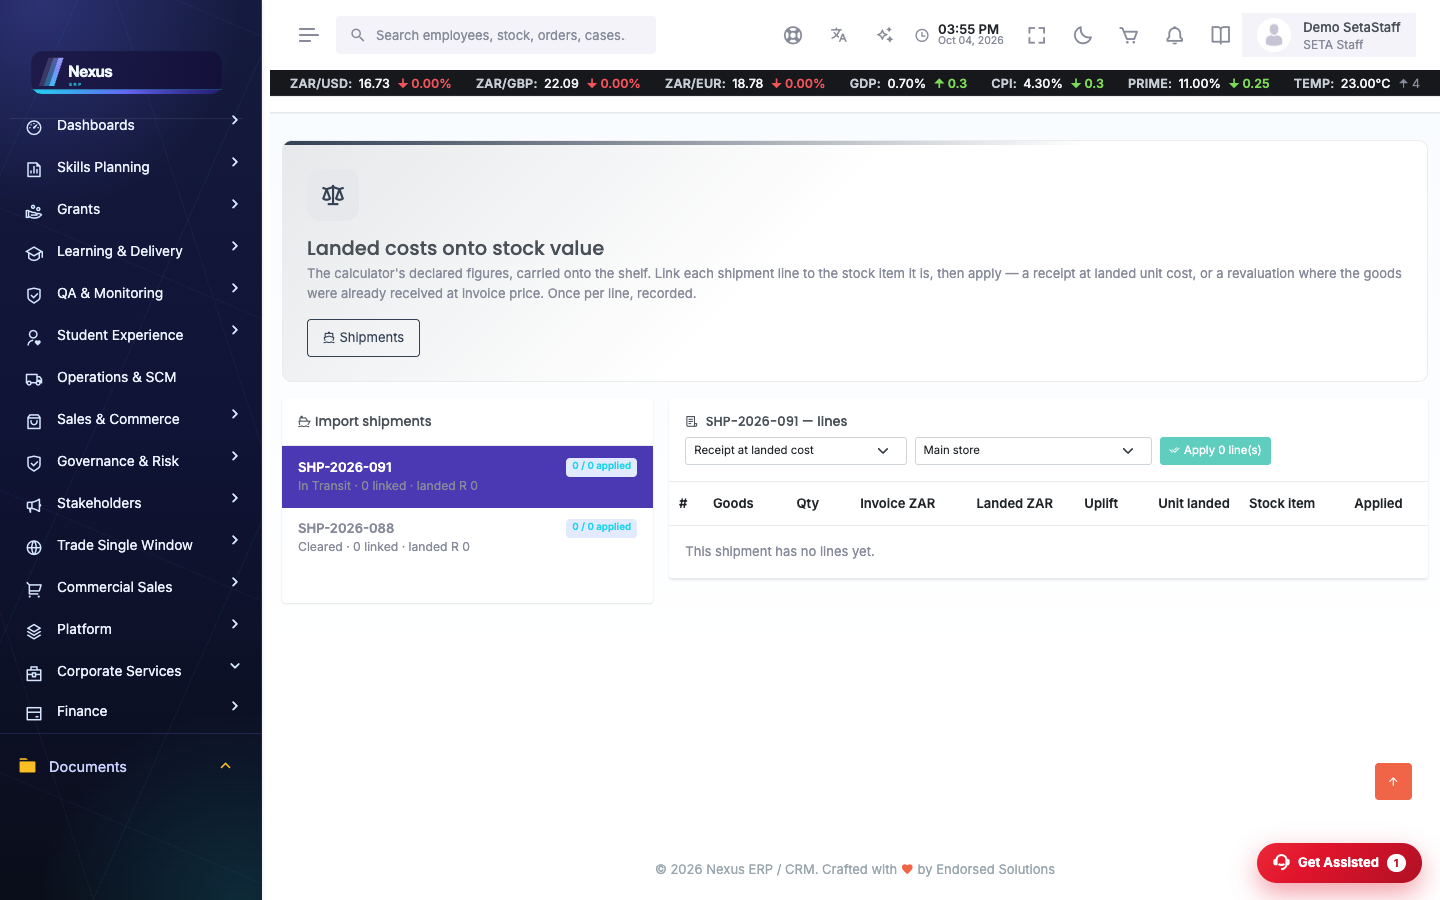
🚢Landed costs
Landed costs /Freight/Freight/LandedCosts
An imported item costs more than its invoice price — freight, duties, insurance. Landed costing spreads those extras over the shipment so stock is valued at its true cost.
- Open Freight → Landed Costs and pick the shipment.
- Link each cost line (the freight invoice, the duty, the clearing fee) to the shipment — and to a specific item on it if the cost belongs to one item only.
- When all the costs are linked, click Apply: choose the stock location and how to spread the costs (the mode — for example by value).
- The item costs in stock are updated to include their share of the extras.
💼Job costing
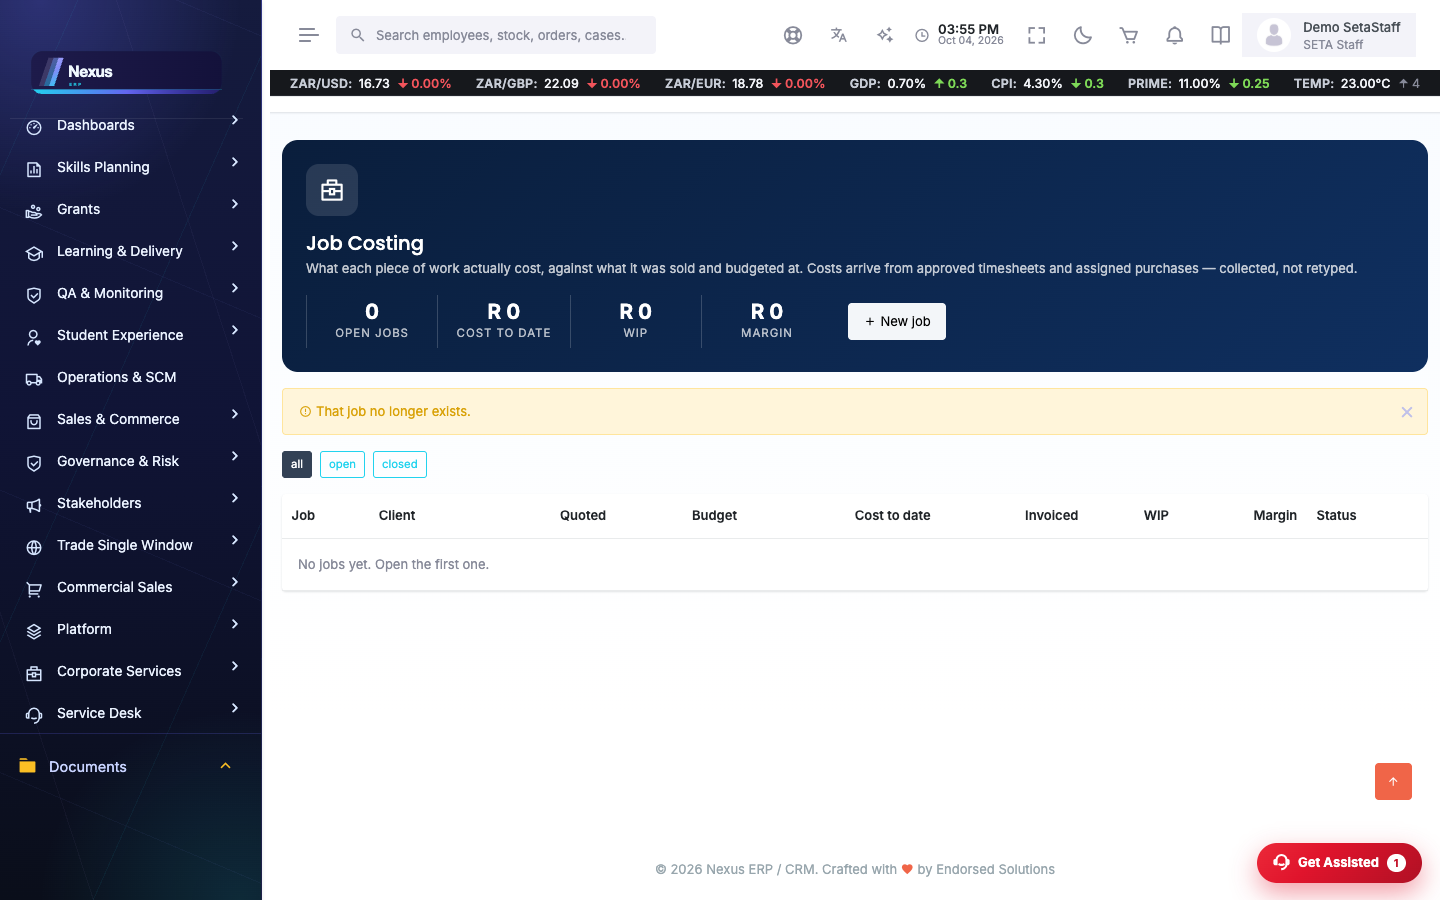
Jobs /Finance/JobCosting/Jobs
A job collects every cost that belongs to one piece of work — an installation, a project, a contract — so you can see what it really cost against what you quoted.
- Open Finance → Job Costing and create a job: a code, a name, the customer, and a budget if you have one.
- Set up cost codes once (labour, materials, travel …) — every cost lands under one.
- Add costs to the job as they happen: pick the cost code, the date, a description and the amount.
- Click Pull timesheets to sweep in the hours staff booked to this job, costed automatically.
- Click Pull purchases to sweep in purchase lines assigned to the job — and use Assign order to point a purchase order at the job in the first place.
- Watch the job page: cost to date versus budget, by cost code. Close the job (set its status) when the work is done.
❓FAQ & troubleshooting
Stock did not change after picking.
The pick list must be posted — recording picks alone does not move stock.
MRP suggests buying something we have plenty of.
Check the item's stock figure and reorder level at that location — MRP believes the system quantities. A stock take fixes the inputs.
Can I undo an applied landed cost?
No — applying adjusts item costs. If a cost was linked wrongly, correct it with a follow-up cost adjustment rather than re-applying.
Timesheet hours are not appearing on my job.
The timesheet lines must name this job. Check the timesheet entries (People → Timesheets), then pull again.